JBrowse web setup using the CLI
TLDR
- Install Node.js 18+, samtools, tabix
npm install -g @jbrowse/clijbrowse create jbrowse2 && cd jbrowse2 && npx serve -S .samtools faidx genome.fa && jbrowse add-assembly genome.fa --load copy --out /var/www/html/jbrowse/samtools index file.bam && jbrowse add-track file.bam --load copy --out /var/www/html/jbrowsebgzip file.vcf && tabix file.vcf.gz && jbrowse add-track file.vcf.gz --load copy --out /var/www/html/jbrowsejbrowse text-index --out /var/www/html/jbrowse
Prerequisites
- Node.js 18+ — use NodeSource or
NVM, not
apt(tends to install old versions) - samtools:
sudo apt install samtoolsorbrew install samtools - tabix:
sudo apt install tabixorbrew install htslib
Installing the JBrowse CLI
npm install -g @jbrowse/cli
jbrowse --version
:::note To avoid a global install, replace jbrowse with npx @jbrowse/cli in
any command below. :::
Download JBrowse 2
jbrowse create jbrowse2
This downloads and unzips jbrowse-web into a folder named jbrowse2.
Alternatively, download the zip manually from
https://github.com/GMOD/jbrowse-components/releases.
Running JBrowse 2
JBrowse 2 requires a web server — opening index.html directly in your browser
won't work.
For production, place the folder in your web server's static directory (e.g.
/var/www/html/jbrowse2/) and visit http://yourserver/jbrowse2.
To verify locally:
cd jbrowse2/
npx serve -S .
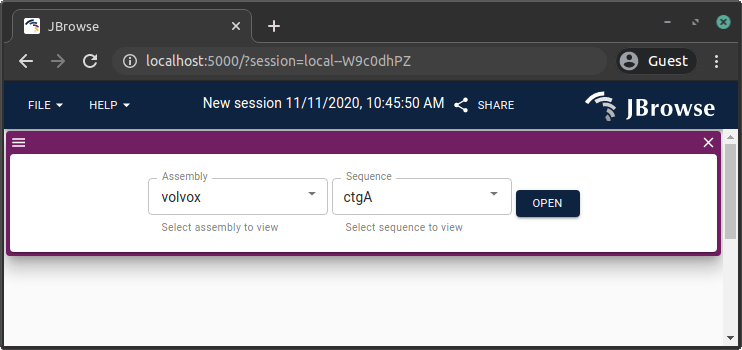
Navigate to http://localhost:3000. Click the sample config to confirm things
are working.

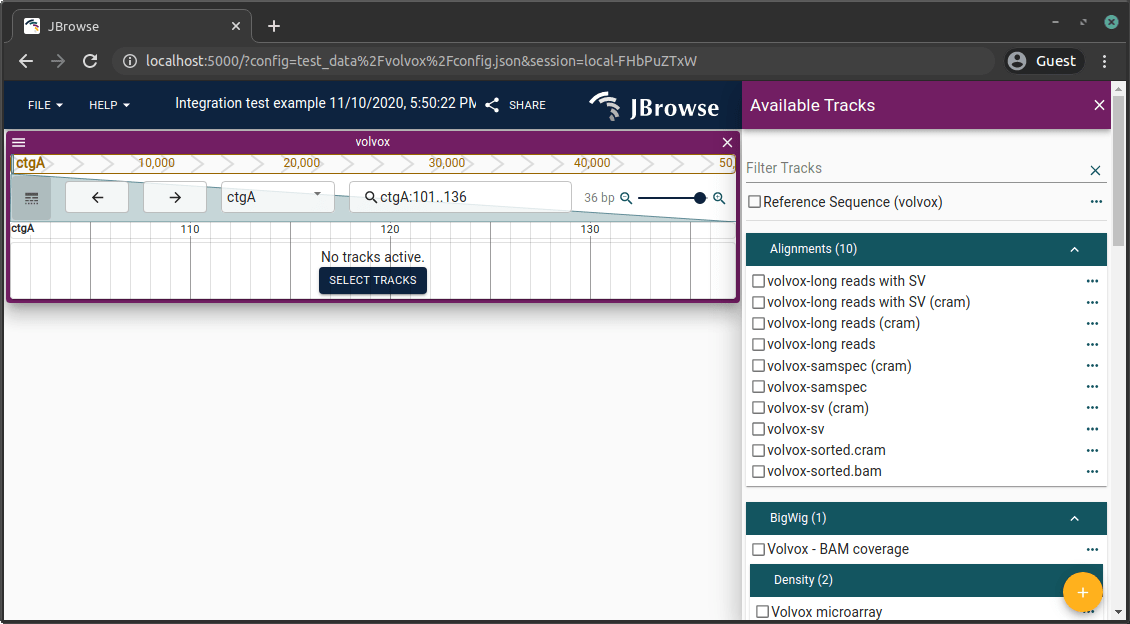
Adding tracks
Genome assembly (FASTA)
samtools faidx genome.fa
jbrowse add-assembly genome.fa --load copy --out /var/www/html/jbrowse/
This writes an assembly entry to config.json and copies genome.fa and
genome.fa.fai into the output directory. Use --load symlink to symlink
instead of copying.
JBrowse 2 also supports bgzip-compressed indexed FASTA and 2bit files.
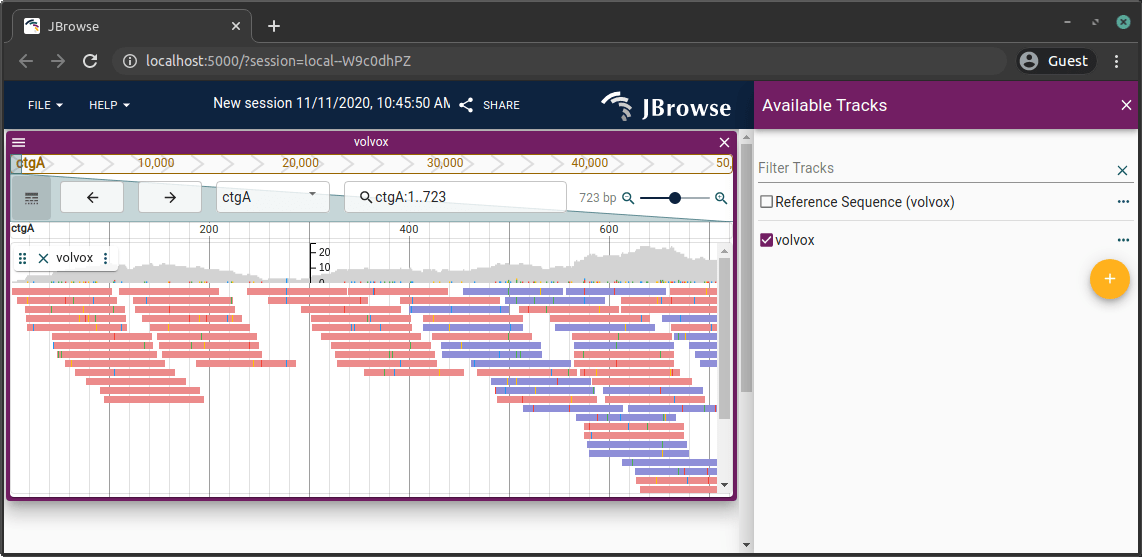
BAM / CRAM
samtools index file.bam
jbrowse add-track file.bam --load copy --out /var/www/html/jbrowse

samtools index file.cram
jbrowse add-track file.cram --load copy --out /var/www/html/jbrowse
Run jbrowse add-track --help for more options.
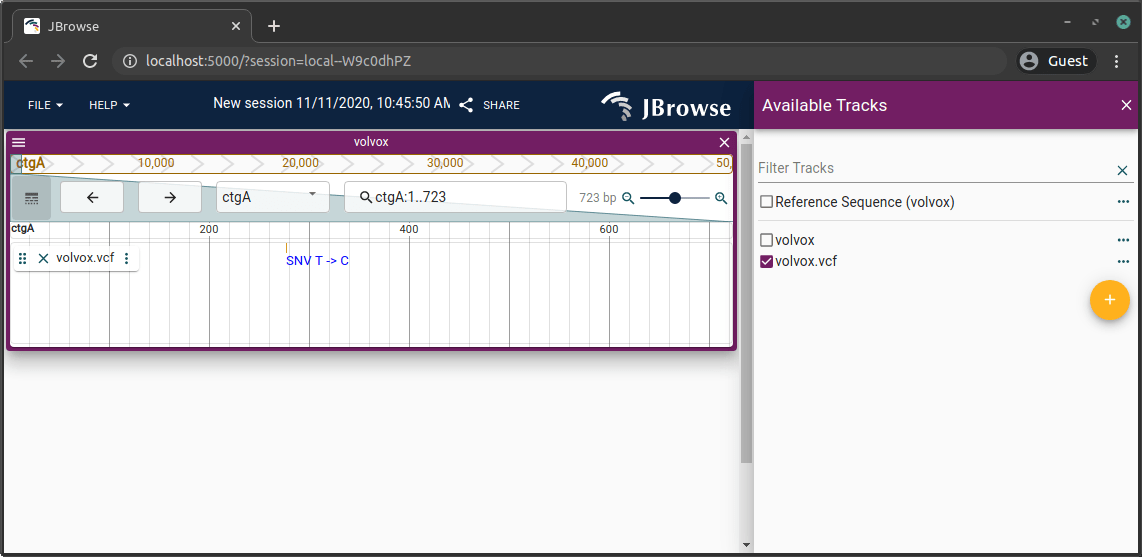
VCF
VCFs must be bgzip-compressed and tabix-indexed:
bgzip file.vcf
tabix file.vcf.gz
jbrowse add-track file.vcf.gz --load copy --out /var/www/html/jbrowse
bcftools sort file.vcf > file.sorted.vcf
bgzip file.sorted.vcf
tabix file.sorted.vcf.gz
You can also use bcftools to bgzip and index in one step:
bcftools view file.vcf --output-type z > file.vcf.gz
bcftools index --tbi file.vcf.gz
See https://www.htslib.org/ for more on bgzip, tabix, and bcftools. :::
BigWig / BigBed
No external index needed:
jbrowse add-track file.bw --load copy --out /var/www/html/jbrowse
GFF3
jbrowse sort-gff yourfile.gff | bgzip > yourfile.sorted.gff.gz
tabix yourfile.sorted.gff.gz
jbrowse add-track yourfile.sorted.gff.gz --load copy
Synteny (PAF)
Use minimap2 to align two assemblies and load the result as a synteny track:
minimap2 -cx asm20 grape.fa peach.fa > peach_vs_grape.paf

jbrowse add-assembly grape.fa --load copy -n grape --out /var/www/html/jbrowse
jbrowse add-assembly peach.fa --load copy -n peach --out /var/www/html/jbrowse
Note: --assemblyNames order is reversed from the minimap2 argument
order. If minimap2 was run as minimap2 grape.fa peach.fa, load with
--assemblyNames peach,grape:
jbrowse add-track peach_vs_grape.paf --assemblyNames peach,grape --load copy --out /var/www/html/jbrowse
The -cx asm20 preset is appropriate for cross-species comparisons (~5%
divergence). Use asm5 for same-species or asm10 for moderately diverged
strains. See the minimap2 docs for details.
Indexing feature names for searching
Optionally, build a text index so users can search by gene name or feature ID:
jbrowse text-index --out /var/www/html/jbrowse
This indexes GFF3Tabix and VCFTabix tracks. Once complete, names can be typed directly into the LGV search box. See the text-index docs and FAQ for more.
Next steps
- User guide — track types, views, and UI features
- Config guide — advanced track and assembly configuration
- CLI reference — full reference for all CLI commands
- FAQ — common questions including text searching and CORS
Tips
Organize data into subdirectories:
jbrowse add-track myfile.bam --subDir my_bams --load copy --out /var/www/html/jbrowse
Upgrade JBrowse to the latest release:
jbrowse upgrade
Upgrade the CLI:
npm install -g @jbrowse/cli
Use a custom config filename:
jbrowse add-assembly mygenome.fa --out /path/to/jbrowse2/alt_config.json --load copy
# Access at: http://localhost/jbrowse2/?config=alt_config.json